
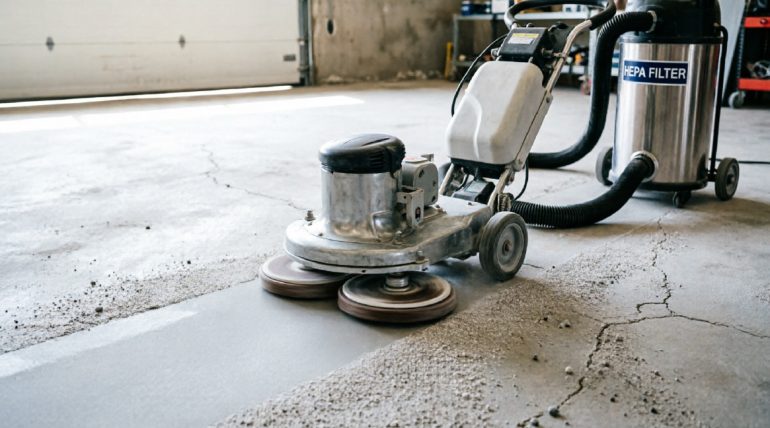
So you’ve decided to upgrade your garage with a professional epoxy floor – congratulations! You’re about to transform one of the most underutilized spaces in your home.
But before our team arrives to work their magic, there are some important preparation steps you need to take. Proper preparation ensures a smooth, efficient installation and the best possible results.
At Elite Epoxy Floors, we’ve installed thousands of garage floors across New Jersey. This checklist will help you get ready and avoid common pitfalls that can delay your project.
Timeline: When to Start Preparing
Ideal Preparation Timeline:
- 2 weeks before: Start decluttering and organizing
- 1 week before: Remove all items from garage
- 3 days before: Confirm installation date and time
- 1 day before: Final walkthrough and temperature check
- Installation days: Stay available for questions
Step 1: Clear Out Everything
Complete Removal is Essential
Our technicians need complete access to your entire garage floor. This means everything must be removed:
Remove These Items: 🚗 Vehicles – All cars, motorcycles, RVs, boats
🧰 Tools & Equipment – Workbenches, tool chests, machinery
Storage Items – Boxes, bins, holiday decorations
🚲 Sports Equipment – Bikes, kayaks, golf carts
Garden Items – Lawnmowers, leaf blowers, fertilizers
️ Trash & Recycling Bins
Pro Tip: Rent a storage pod or borrow a friend’s truck if you need temporary storage. Most installations are completed in 2-3 days, so you won’t be without your garage for long.
Step 2: Deal with Fixed Items
What About Things That Can’t Move?
Some items are harder to relocate. Here’s how to handle them:
Garage Door Opener:
- Can usually stay mounted to ceiling
- We’ll work around it
- No need to disconnect
Water Heater/Furnace:
- Leave in place
- We’ll epoxy around the base
- Ensure clear access
Sinks & Utility Stations:
- Keep installed
- Protect from overspray with plastic sheeting
- We’ll seal around edges
Electrical Panels:
- Must remain accessible
- We’ll tape off and protect
- No painting over panels!
** Shelving Systems:**
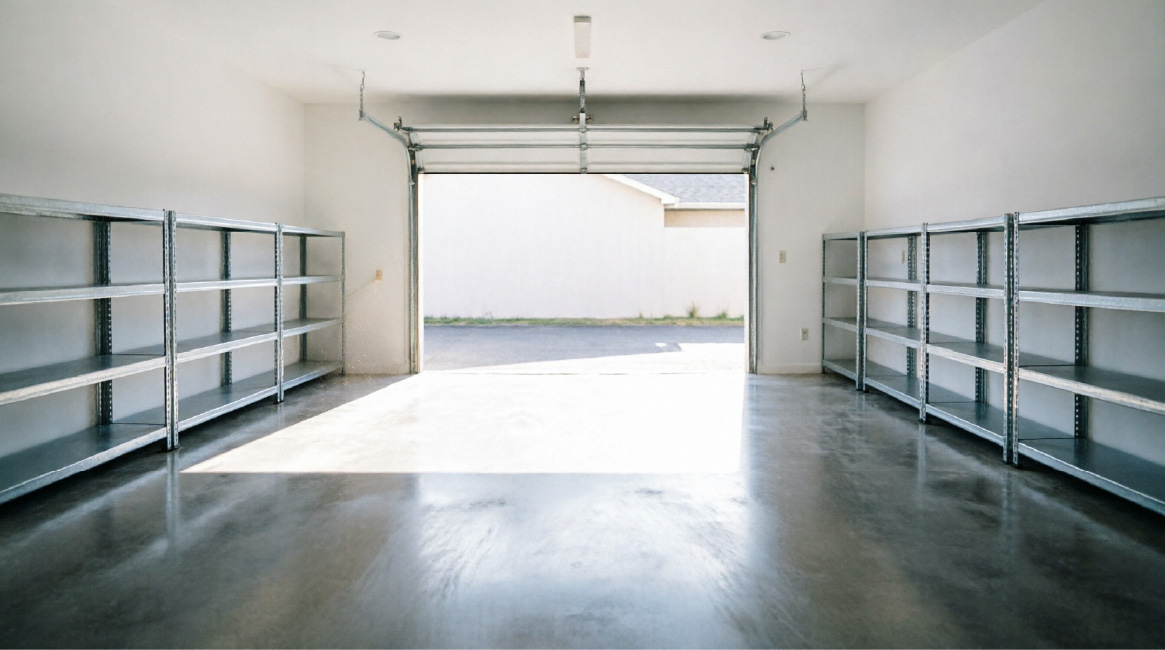
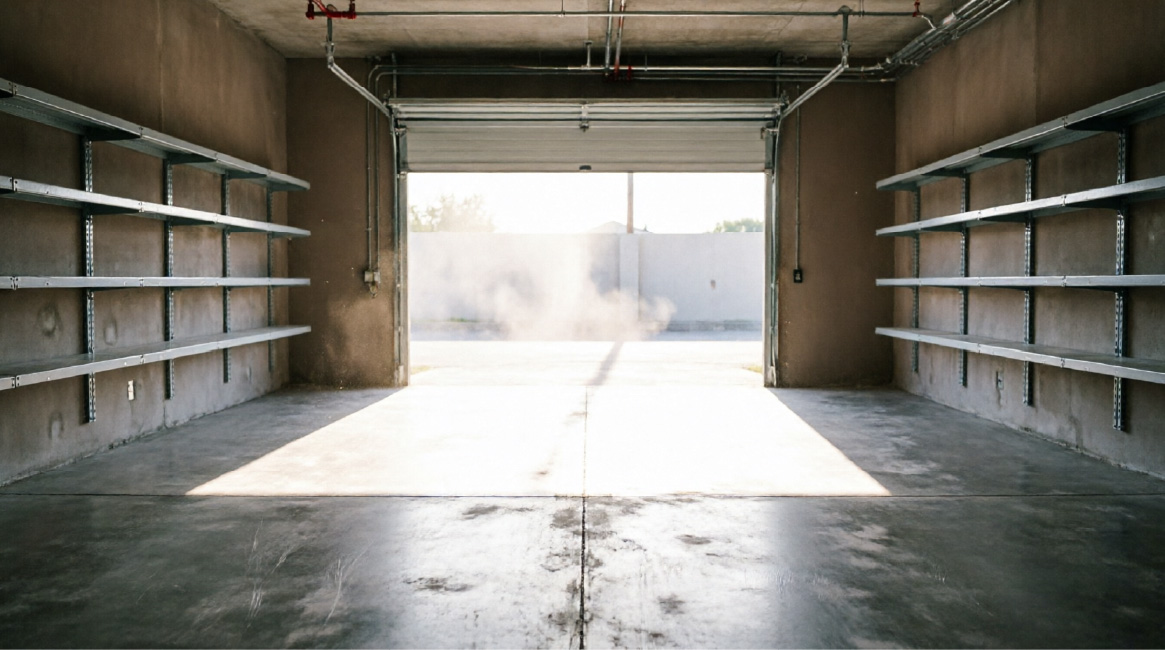
- Wall-mounted: Can stay if 6+ inches off floor
- Floor-standing: Must be removed or we can’t epoxy underneath
- Recommendation: Remove if possible for best results
Step 3: Address Concrete Issues
Inspect Your Floor Before We Arrive
While we’ll do a thorough inspection, it helps to identify major issues beforehand:
Check For:
1. Large Cracks (1/4″ or wider)
- Document with photos
- Note location and size
- We’ll repair during installation, but good to know upfront
2. Oil Stains
- Mark heavily stained areas
- We’ll use specialized degreasers
- The sooner we know, the better we can prepare
3. Moisture Issues
- Look for white powder (efflorescence)
- Check for damp spots after rain
- Inform us of any known moisture problems
4. Previous Coatings
- Paint, sealers, or old epoxy must be removed
- We’ll handle this, but it may affect timeline and cost
- Let us know during consultation
5. Spalling or Pitting
- Flaking or crumbling concrete
- Requires additional repair work
- Document and inform us
Step 4: Climate Control
Temperature Matters!
Epoxy is temperature-sensitive. Proper conditions are critical for success.
Ideal Conditions:
- Air Temperature: 60-85°F (15-30°C)
- Concrete Temperature: 55-90°F (13-32°C)
- Humidity: Below 85%
- Dew Point: Concrete temp must be 5°F above dew point
Winter Installations (New Jersey): ❄️ Heating Required:
- Use space heaters 24-48 hours before installation
- Maintain temperature during installation
- Keep heated for 24-48 hours after application
Summer Installations: ☀️ Ventilation is Key:
- Open garage door for air circulation
- Use fans if needed
- Avoid installation during extreme heat waves
Our Policy: We monitor weather conditions and may reschedule if temperatures are outside acceptable ranges. Your floor’s quality is more important than sticking to the schedule.
Step 5: Protect Adjacent Areas
Keep the Rest of Your Home Clean
While we take extensive precautions, you can help protect your property:
Inside the House:
- Close interior doors leading to garage
- Cover furniture near garage entrance with plastic
- Remove or cover items in adjacent rooms
- Protect finished floors leading from garage
In the Garage:
- Remove or cover items on walls (we create dust during grinding)
- Take down artwork or decorations
- Cover any items that must stay (we’ll help)
Outside:
- Move cars from driveway if possible
- Cover plants or landscaping near garage entrance
- Protect outdoor furniture
Step 6: Plan for Disruption
What to Expect During Installation
Day 1 (Preparation & Base Coat): ⏰ Duration: 6-10 hours
🔊 Noise Level: Moderate to loud (diamond grinding)
👥 Your Presence: Not required, but available for questions
🚗 Vehicle Access: None – garage must remain empty
Day 2 (Topcoat Application): ⏰ Duration: 4-6 hours
🔊 Noise Level: Low
👥 Your Presence: Final walkthrough
🚗 Vehicle Access: None – still curing
Days 3-7 (Curing): ⏰ Duration: Varies by temperature
🔊 Noise Level: None
👥 Your Presence: Normal use of home
🚗 Vehicle Access: Light foot traffic after 24 hours, vehicles after 3-7 days
Step 7: Arrange Alternative Parking
Where Will Your Cars Go?
You’ll need alternative parking for 3-7 days:
Options:
1. Driveway
- Most convenient
- Check weather forecast
- Use car cover if rain expected
2. Street Parking
- Check local ordinances
- Inform neighbors if needed
- May require temporary permit
3. Neighbor’s Garage
- Ask in advance
- Offer to return the favor
- Great for building relationships!
4. Temporary Storage
- For boats, RVs, trailers
- May need off-site storage facility
Step 8: Prepare Your Family & Pets
Keep Everyone Safe
Children:
- Explain the project in advance
- Establish “no-go” zones during installation
- Plan activities away from garage during work days
- Keep toys and bikes stored elsewhere
Pets:
- Keep pets indoors or in fenced yard
- Garage door will be open/closed frequently
- Noise from grinding may stress some animals
- Consider doggy daycare for sensitive pets
Family Members:
- Inform everyone of the timeline
- Post “No Entry” signs during work
- Designate alternative storage for items usually kept in garage
Step 9: Final Checklist (Day Before)
Last-Minute Preparations
✅ Garage is completely empty
✅ All vehicles relocated
✅ Temperature controlled (if winter)
✅ Adjacent areas protected
✅ Pets and children’s arrangements made
✅ Alternative parking secured
✅ Contact information exchanged with installer
✅ Payment method confirmed
✅ Questions written down
Step 10: Day of Installation
What Happens When We Arrive
Morning Arrival (Typically 7-9 AM):
- Initial Walkthrough
- Review scope of work
- Confirm color and design choices
- Identify any last-minute concerns
- Sign work order
- Setup & Protection
- Lay protective sheeting
- Set up equipment
- Establish work zones
- Dust collection systems activated
- Surface Preparation
- Diamond grinding begins
- Crack repair
- Cleaning and vacuuming
- This is the loudest/messiest phase
- Base Coat Application
- Epoxy primer/base applied
- Flake broadcast (if full flake system)
- Even coverage across entire floor
- End of Day 1
- Cleanup of work area
- Review progress with you
- Confirm Day 2 schedule
Day 2:
- Scraping & Cleaning
- Remove excess flakes
- Vacuum thoroughly
- Prepare for topcoat
- Topcoat Application
- Clear polyaspartic applied
- Multiple coats for durability
- Final inspection
- Project Completion
- Final walkthrough with you
- Care instructions provided
- Warranty documentation
- Payment processing
Common Preparation Mistakes to Avoid
Don’t Let These Delay Your Project
❌ Waiting until the last minute to clear garage
→ Start 1-2 weeks early
❌ Not checking weather forecast
→ Temperature affects cure time and quality
❌ Leaving items “just in the corner”
→ We need 100% floor access
❌ Not informing family members
→ Creates confusion and safety issues
❌ Assuming you can park cars the next day
→ Minimum 3 days, ideally 7 days
❌ Ignoring moisture issues
→ Tell us upfront so we can plan
❌ Not having a parking plan
→ Last-minute scrambling causes stress
Special Considerations
Unique Situations That Need Extra Planning
Multi-Car Households:
- Coordinate with family/neighbors
- May need to stagger vehicle removal
- Consider carpooling during installation week
Home Businesses:
- If garage is your workshop, plan for downtime
- Notify clients of temporary closure
- Set up temporary workspace elsewhere
HOA Restrictions:
- Check if street parking requires permission
- Some HOAs have rules about driveway parking
- Get approvals in advance
Rental Properties:
- Get landlord approval in writing
- Confirm who is responsible for preparation
- Clarify move-out expectations
What NOT to Do Before Installation
Common Mistakes That Cause Problems
Don’t try to clean the floor yourself
→ We need to do professional preparation
🚫 Don’t apply sealer or paint before we arrive
→ Creates extra work and cost
🚫 Don’t ignore oil stains
→ Tell us so we can bring proper cleaners
🚫 Don’t schedule other contractors during installation
→ We need clear access and focus
🚫 Don’t assume “good enough” is okay
→ Proper preparation = perfect results
After Installation: What’s Next?
Curing & Care Instructions
First 24 Hours:
- No foot traffic
- Maintain temperature
- Keep garage door closed
- Ventilate if strong odor
24-72 Hours:
- Light foot traffic OK
- No vehicles yet
- Continue temperature control
- Avoid water contact
3-7 Days:
- Vehicles can return
- Avoid harsh chemicals
- No tire turning while stationary
- Gentle use only
7-30 Days:
- Full cure achieved
- Normal use resumes
- Can begin regular maintenance
- Enjoy your new floor!
We’re Here to Help!
Preparation might seem overwhelming, but we’re with you every step of the way. Our team will:
✅ Provide detailed timeline and expectations
✅ Answer all your preparation questions
✅ Work efficiently to minimize disruption
✅ Protect your property during installation
✅ Clean up thoroughly when we’re done
Ready to Get Started?
If you have any questions about preparing for your epoxy floor installation, don’t hesitate to reach out.
📞 Call: 551-347-7015
️ Email: info@eliteepoxyfloors.us
📅 Already scheduled? Reply to your confirmation email
We can’t wait to transform your garage!